by Craig, Naas Library
Today I’m going to be doing some Rock Painting with you, and turning a plain old rock from the garden, into a colourful Ladybird.
Rock Painting can be fun for any age group and is something creative that you can do together as a family.
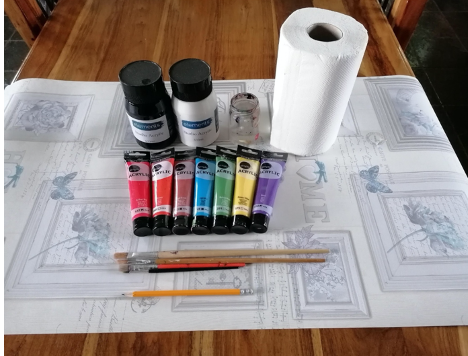
First you need to gather your materials- You will need
- A Pencil – For marking out
- Assorted Paint Brushes
- Acrylic Paints – Acrylic specifically because it is water based for a easy clean up, yet it becomes waterproof once it has dried making it ideal for the garden.
- A jar of water
- Kitchen paper
- A sheet of wallpaper or similar (to protect the table!)
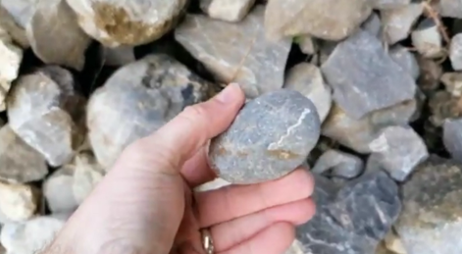
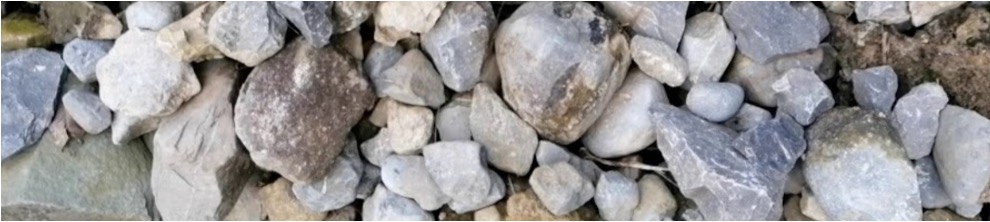
Next you need to find a suitable Rock.
You can either think of what you want to paint (in my case I wanted to paint a Ladybird), or you can find a rock you like, and then think of how you’re going to paint it.
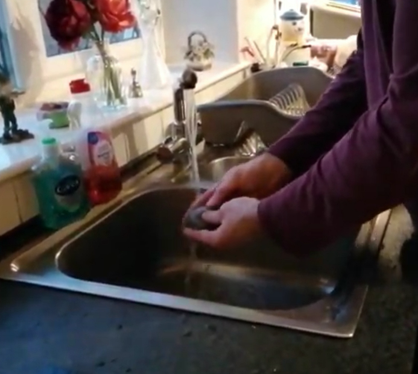
In order to get the paint to stick properly, we need the rocks to be clear of mud and dust.
A quick wash under the tap will be suficient.
Dry it off with the Paper Towel, as we don’t want the rock to be too wet.
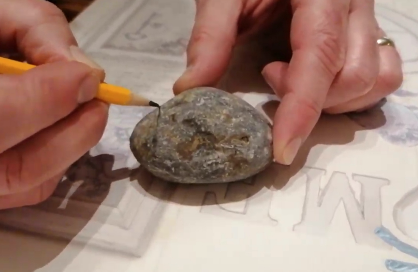
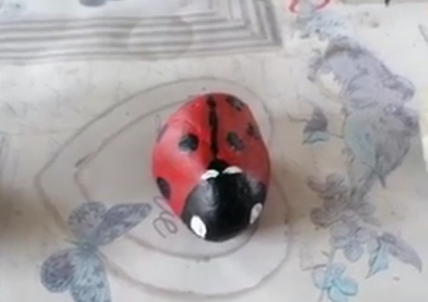
Before we go at it with a paintbrush, it’s worth marking out the lines with a pencil, for where you want to paint.
For the Ladybird, this involves a line lengthwise, to mark the separation of the shell, and a line crosswise at about a quarter of the way down, to mark where the head will be.
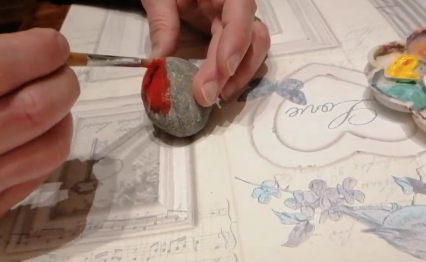
Now we get to the really fun part – laying on the colour!
Using a medium sized brush, paint the first coat of whichever colour you wish to use. I went wth the red. Try to follow the lines you’ve drawn.
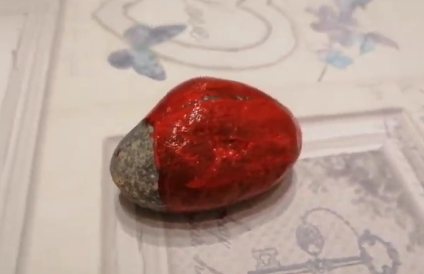
The red I used didn’t cover very well, so I had to leave it to dry for about an hour, before giving it a second coat.
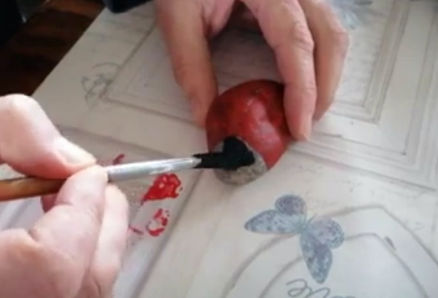
When I painted the black parts it covered well with only one coat, so you’ll need to use your own judgement here as to whether a second coat is needed.
You will need more drying time, if you wish to paint any other colours, such as the white spots you can see in the next image.
And here is the finished Ladybird.
If you look at images of ladybirds, you will notice that they are symmetrical. The spots on one half of the shell are mirrored on the other side.
They also tend to have white spots around the head, so bear that in mind if you are doing the same rock that I did.
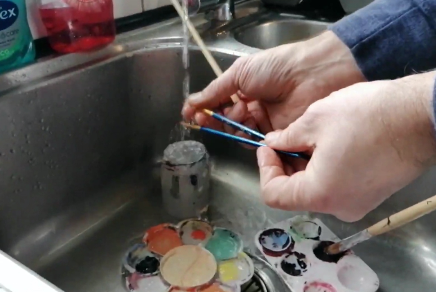
Once you’re finished, be sure to clean your brushes and any other equipment and surfaces that got paint on them with water.
Remember – Once acrylic paint dries it is waterproof and needs harsh chemicals to remove it.
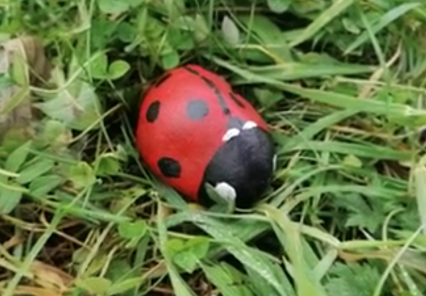
And here’s our finished Ladybird, out in the garden where she belongs.
I hope you enjoy painting your own rocks, you can make them look like other things, cover them in patterns, or even just colours on a selection of rocks. The possibilities are only limited by your imagination.
Thank you for reading- Craig


Leave a Reply